
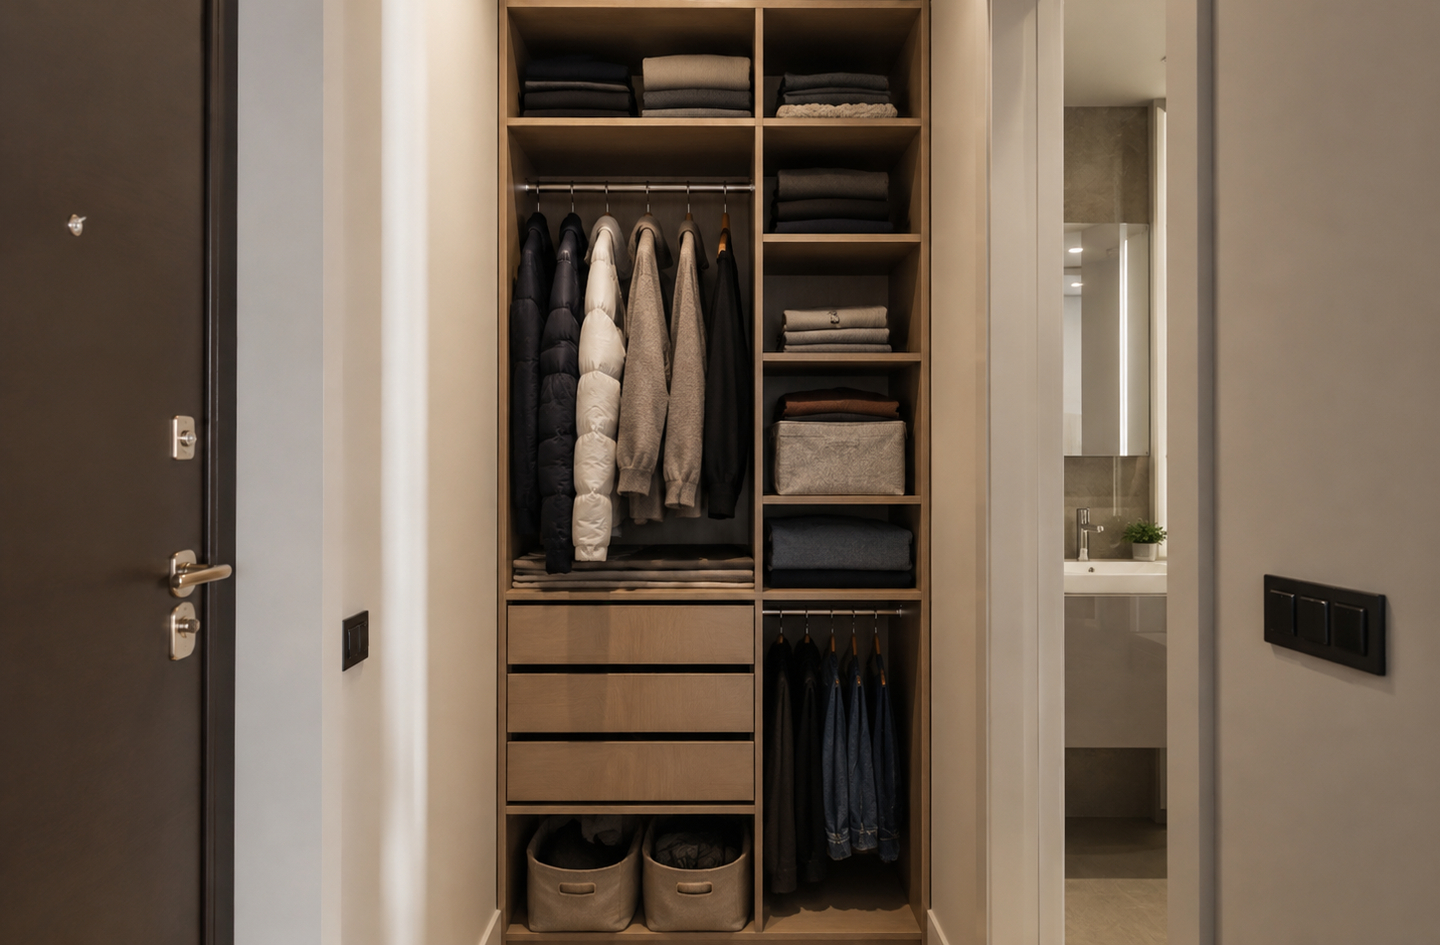
A small closet that keeps failing is rarely just too small. Usually the interior was fitted for an imagined wardrobe rather than the one you own. A small closet redesign fixes that by sizing every rod, shelf and drawer to your actual clothes and shoes. The small closet storage overview covers the wider topic; this guide covers the planning sequence before anything is bought or moved. Start with depth: a rod running parallel to the door needs an inside depth of 24 inches1.
Quick Answer
How do you plan a small closet redesign for clothes and shoes?
Measure the closet, then count the wardrobe by hanging length. Allow about 2 inches of rod per woman’s garment, 2.5 inches per man’s garment and 4 inches per heavy coat1. Split the rod into long-hang and double-hang sections, put 12-inch shelves above, keep drawers inside the door opening, and size the shoe zone to the pairs you own.
Key Takeaways
- Rod length, not closet width, sets hanging capacity: about 2 inches per woman’s garment, 2.5 inches per man’s garment and 4 inches per heavy coat1.
- Dresses and coats need about 63 inches of hanging height, while trousers, suits, blouses and skirts need 39 to 45 inches3, so only short garments can double-hang.
- A 12-inch shelf holds most folded garments, shoes and accessories4; a deeper shelf buries whatever sits at the back.
- A frequent, avoidable mistake is buying a closet system before counting the wardrobe it has to hold.
Why a Small Closet Redesign Starts With the Wardrobe
A small closet redesign starts with the wardrobe because every rod, shelf and drawer should be sized by the items it holds, not by the empty box. A 1953 University of Illinois storage study built its recommended dimensions on measurements of the items stored1.
Small closet redesign is the process of re-planning a closet’s interior, meaning its rods, shelves, drawers and shoe storage, around a measured wardrobe without moving the closet’s walls. Tidying rearranges what is already there, and renovation changes the room. A redesign changes the interior parts so the closet matches the clothes it serves.
“Volume, rather than the specific way these storage places are to be used, is too often the basis for design.”
Helen E. McCollough, University of Illinois Small Homes Council, Circular C5.11
That sentence describes most builder closets: one rod and one shelf across the full width, sized for an average buyer. When the interior ignores your actual mix, long coats crumple at the floor and short shirts leave a dead band of wall beneath them. Shoes pile up wherever the door allows.
A closet that fails after every reorganization usually has a sizing problem, not a discipline problem, so the fix belongs on paper before it reaches the store.
Before You Begin: Tools, Time and Scope
Planning a closet redesign takes basic tools and one focused afternoon, and almost all of the work happens on paper. Gather a long tape measure, graph paper or a drawing app, painter’s tape, an inventory sheet and your phone for photographs of each wall.
Scope: this sequence covers a reach-in closet, the kind you open from the room rather than walk into. Small Space Logic offers engineering-informed education, not certified design. Anchoring heavy loads into an unknown wall, adding a light fixture or moving a door belongs with a licensed contractor or electrician.
One caution about order: a redesign sized to an overfull wardrobe locks the excess in. If the closet holds clothes nobody wears, edit first. The guide to organizing lots of clothes covers editing, seasonal rotation and hangers.
Step 1: Measure the Closet Shell and the Door Opening
By the end of this step you will have the measurements that decide what the closet can physically hold. A rod running parallel with the opening needs an inside depth of 24 inches1, the same minimum a North Carolina extension guide gives for hanging clothes4.
- Measure depth first, from the back wall to the inside face of the closed door.
- Measure width twice: along the back wall and between the door jambs.
- Measure height from floor to ceiling, noting brackets, vents and fixtures.
- Record the door type: hinged, sliding bypass or bifold.
Jamb return is the strip of wall between the edge of the door opening and the closet’s side wall. The Illinois circular observed that a door-in-a-wall closet limits access, because the jamb and door head block the sides and the space near the ceiling1. Those hidden ends suit things you rarely touch.
Opening width varies widely. A 1992 University of Illinois planning guide assumed closet openings of 24 inches for a one-person bedroom and 60 inches for a two-person room2. A shallow closet still has options: a closet less than 24 inches deep can use extension rods, where a slight pull brings garments out for selection3.
| Measurement | Where to take it | What it decides |
|---|---|---|
| Depth | Back wall to closed door face | A full-width rod at 24 inches or more, extension rods if shallower |
| Back wall width | Side wall to side wall | Total rod length available |
| Opening width | Jamb to jamb | Where drawers and daily items can go |
| Height | Floor to ceiling | Whether double hanging plus a shelf fits |
| Door type | Hinged, bypass or bifold | Which section the open door hides, and whether door storage works |
The opening, not the back wall, defines the useful closet, so daily storage belongs inside the jamb lines.
Step 2: Count the Wardrobe by Hanging Length
By the end of this step you will know how many inches of rod your clothes need and how much must run full length. Dresses and coats need about 63 inches of hanging height, while trousers, suits, blouses and skirts need 39 to 45 inches3.
Rod space is the length of closet rod a garment occupies on its hanger, measured side to side. The Illinois study gave average rod space as 2 inches for women’s clothing, 2.5 inches for men’s clothing and 4 inches for heavy coats1.
- Sort hanging items into long (dresses, long coats, robes) and short (shirts, jackets, skirts, folded trousers).
- Count each group, with heavy coats counted separately.
- Multiply each count by its rod space and add the results.
- Count folded stacks, shoe pairs and bags for the shelves, drawers and shoe zone.
A worked example shows how quickly the numbers add up. Thirty women’s garments need 60 inches of rod, and six heavy coats add 24 inches, so the wardrobe asks for 84 inches. If eight garments are long dresses, they and the six coats need 40 inches of full-length rod. The other 22 garments need 44 inches of rod, which double hanging fits into 22 inches of wall, so the closet needs 62 inches of wall instead of 84.
Compare the total with published benchmarks. The Illinois circular offered 48 inches of rod per person, which it called an arbitrary recommendation1. The 1992 guide assumed minimums of 36 inches for a one-person bedroom and 72 inches for a two-person room2.
Most small closets do not lack width; they lack the right split between long and short hanging, and only the count reveals that split.
Step 3: Set Rod Heights for Long and Double Hanging
By the end of this step every rod will have a height matched to the garments below it. The Illinois circular set the general rod for adult clothing at 64 inches and the rod for robes and evening clothes at 72 inches1.
“The height of the closet rod and the depth of the rod are critical.”
Building Research Council, University of Illinois, Bedroom Planning Standards2
The same guide warns that a wrongly placed rod leaves full-length clothing unable to hang. It also notes that rods can be doubled for shorter clothing in part of the closet2.
Double hanging is a layout with two rods stacked one above the other, so two rows of short garments share one stretch of wall. It works only for garments short enough to clear the rod below.
- Place the long-hang rod first, near the 64-inch general height1, or higher for floor-length pieces.
- Set the lower double-hang rod just above the length of your longest short garment.
- Set the upper rod one short-garment length higher, plus hanger clearance.
- Leave about 2.5 inches between the top rod and the shelf above it, the gap the Illinois circular allowed1.
The arithmetic is simple. Short garments of 39 to 45 inches3 put the lower rod near 40 to 45 inches and the upper rod near 80 to 90 inches. The 1953 circular capped frequently used storage at seven feet and treated a 72-inch shelf as within reach of a woman of average height1. An upper rod near 80 inches sits at that limit, and one near 90 inches is past it.
That reach gap shapes the plan. Weekly shirts belong on the lower rod and occasional jackets on the upper one. If the upper rod must hold daily clothes, a pull-down closet rod brings it within reach.
Reach also depends on who uses the closet. The U.S. Access Board sets an unobstructed forward reach of 15 to 48 inches, a band drawn for wheelchair users5. If anyone in the household uses a wheelchair, keep daily rods and shelves inside that band.
Double hanging pays off only where short garments live, so the long-hang section should be sized from the Step 2 count, never guessed.
Step 4: Choose Shelf Depths and Spacing
By the end of this step each shelf will have a depth and a spacing. A 12-inch shelf holds most hats, folded garments, shoes and clothing accessories4, and the Illinois circular gave the same 12-inch depth for hats, folded garments, shoes and purses1.
Decide depth before anything else. The Illinois authors called depth the governing dimension of a storage unit, because it depends on the type of article rather than the quantity1. Width and height then flex with how much you own.
Deeper is not better. The Illinois units were kept as shallow as practical, so nothing had to be moved to reach something behind it1. Sweaters stacked two rows deep on a 24-inch shelf mean the back row disappears.
- Set spacing by the tallest item. The Illinois study let the tallest article set the distance between shelves and the height of drawers1.
- Group items of similar height on one shelf, so no shelf carries one tall stack beside a wasted gap.
- Send seasonal items up. Out-of-season and seldom-used articles belong on the higher shelves3.
Adjustable shelving suits a small closet, because folded stacks change with the season. In a rental, a freestanding shelf tower or a hanging fabric organizer gives the same flexibility without drilling.
Shelf depth should match the item, not the closet, because every inch of surplus depth becomes a place where things vanish.
Step 5: Place Drawers Where They Can Open
By the end of this step you will know where drawers fit and whether they should be built in or freestanding. An Oregon State circular suggested a chest of drawers under short clothes when the rod cannot be changed3. That puts the dead band below a short hang to work.
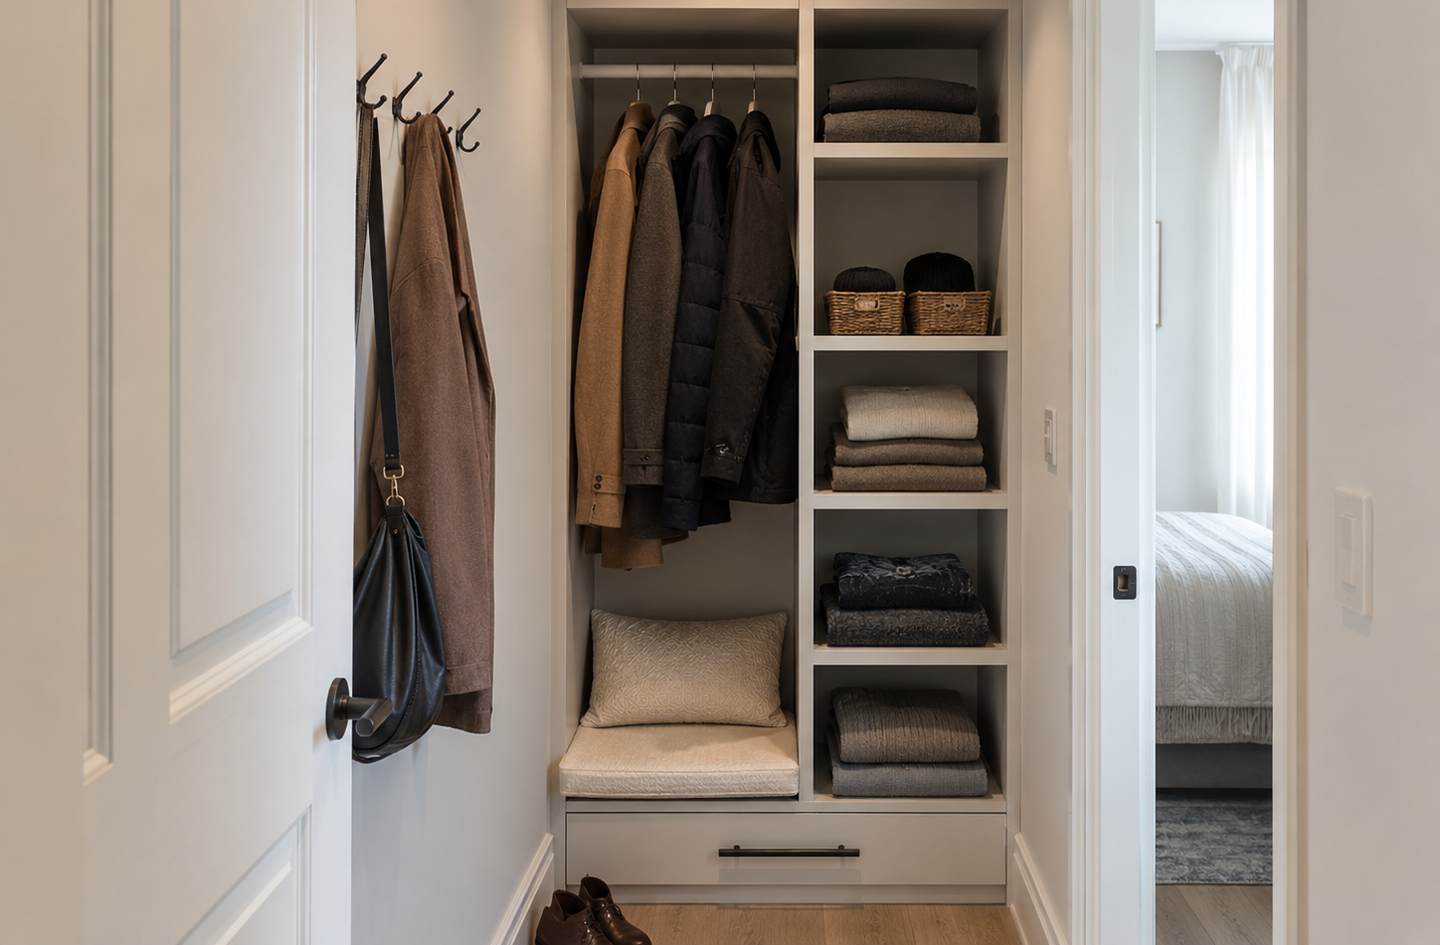
Drawers fail in small closets for one reason: they cannot open fully. Plan around three constraints.
- Keep drawers inside the door opening. A drawer behind a jamb return hits the frame, and folding or bypass doors need stacking room the Illinois circular said must be allowed for1.
- Check depth. Bedroom dressers run 18 to 22 inches deep2, so a 24-inch closet takes one only after the door, hinges and handles are counted.
- Keep drawers shallow. The Illinois study advised drawers as shallow as possible for the article stored1.
Clothing storage unit is the federal term for a free-standing clothing chest with drawers or hinged doors, at least 27 inches tall and 30 pounds6. It also encloses at least 3.2 cubic feet of storage6. Built-in units permanently attached to the building fall outside that definition6.
The distinction matters for safety, because a freestanding chest moved into a closet can still tip. The federal rule cites 234 reported tip-over deaths involving these units from January 2000 to April 2022, 199 of them children7. Units made after September 1, 2023 must ship with an anti-tip device6, so install it.
The same rulemaking recorded why people skip anchoring: they judged smaller units unlikely to tip, and renters did not want to damage walls7. If you rent, ask the landlord before the chest goes in. For plaster, masonry or an unknown wall, a contractor can confirm the right fixing.
Height interacts with the rod above, so measure the chest itself. Any chest the federal rule covers stands at least 27 inches tall6. Add short garments of 39 to 45 inches3, and the rod moves to roughly 66 to 72 inches or higher. A drawer stack therefore replaces the lower double-hang rod rather than sitting beneath it.
If the closet cannot take drawers at all, the armoire, dresser and rack comparison covers overflow furniture outside the closet.
A drawer belongs in a small closet only where it opens fully and replaces a lower rod, not where it competes with one for the same height.
Step 6: Build a Shoe Zone Sized to Your Pairs
By the end of this step your shoes will have a measured home instead of the closet floor. A North Carolina extension guide sized shelf space for men’s shoes at 9 inches wide, 13 inches deep and 5.5 inches high4. For women’s shoes it gave 7 inches wide, 10 inches deep and 7.5 inches high4.
Those dimensions turn the shoe zone into arithmetic. A 36-inch shelf holds four pairs at the men’s width or five at the women’s width. Because shoes are low, shoe shelves can sit far closer together than shelves for folded clothes, so a narrow column stores many pairs.
Watch the depth. The men’s shoe space is 13 inches deep4, an inch more than the 12-inch shelf that suits folded clothes, so large shoes overhang a standard shelf. Give the shoe column deeper shelves or angle the pairs.
- Count pairs by type: daily, occasional, boots and seasonal.
- Put daily pairs at the easiest height, inside the door opening.
- Give boots a floor zone, often a hidden end behind a jamb return.
- Use the door only if it is hinged. Fabric or plastic shoe bags can hang on closet doors3, but a bypass door has nowhere to hold them.
Wet boots and winter footwear by an entry are a different job from a bedroom shoe zone, and the hallway closet overflow plan covers that case.
Shoes sized into their own column take less wall than shoes left on the floor, because the floor holds one layer and a column holds many.
Step 7: Draw the Plan and Test It Before You Buy
By the end of this step you will have a scale drawing and a taped mock-up that proves the plan. The 1992 Illinois planning guide uses this method for whole bedrooms: draw the room at 1/4 inch to the foot, then place paper patterns on it2.
- Draw a front view of each closet wall, marking the opening and jamb returns.
- Draw the long-hang section first, at the width your count needs.
- Fill the rest with double hanging, a drawer stack or a shoe column, by priority.
- Tape the plan onto the wall and test it with a long dress, a sweater stack and a fully opened door.
The taped test catches what a drawing hides. Hinges that block drawers, bifold panels that stack over shoes and top shelves nobody can reach all show up within minutes.
Then choose an installation route. Renter-friendly options include freestanding shelf towers, tension rods, hanging organizers and rail systems that hang from one top track. Owners can screw standards into studs, and any wiring change, such as a closet light, belongs with a licensed electrician.
The tape test is the cheapest step in the redesign and the most often skipped, yet it is where the plan proves it fits the door and the reach.
Common Mistakes in a Small Closet Redesign
A frequent small closet redesign mistake is buying a closet system before measuring the wardrobe it has to hold. The others follow from the same habit of planning around the box instead of its contents.
Buying the System Before Counting the Clothes
Kits are sold by closet width and assume an average mix of garments. Count first, then buy only the parts the count calls for.
Double Hanging the Whole Rod
Two rods across the full width look efficient until the first long coat drags on the lower one. Size the long-hang section first and double-hang only the remainder.
Putting Drawers Behind the Door Frame
A drawer stack centered on the back wall of a narrow-opening closet often sits partly behind a jamb return, so it opens partway and stops. Keep drawers fully inside the opening.
Choosing Shelves Deeper Than Their Contents
A deep shelf invites a second row, and the second row disappears. Match shelf depth to the item type and give spare depth to hanging instead.
Each of these mistakes comes from sizing the interior by the closet instead of by the wardrobe, which is why the Step 2 count carries the whole plan.
What a Finished Small Closet Redesign Looks Like
A finished small closet redesign gives every category of clothing and shoes a measured place, and the door opens without hitting anything. Check your plan against this list:
- The long-hang rod fits every long garment, with hems clear of the floor.
- Daily short garments hang on the lower rod, within easy reach.
- Shelves match the depth of what sits on them, with seasonal items highest.
- Drawers sit inside the door opening and open all the way.
- Every pair of shoes has a shelf or floor spot, with daily pairs easiest to reach.
The real test comes a month later. If putting things away takes seconds, the plan worked; if one category keeps landing on the floor, that category needs more room in the next adjustment.
A redesign succeeds when putting things away takes less effort than leaving them out, and that is a property of the layout, not of the person using it.
Frequently Asked Questions
How much closet rod space does one person need?
About 48 inches, the per-person figure a 1953 University of Illinois circular recommended1. A 1992 planning guide assumed 36 inches as the minimum for a one-person bedroom2. Your own need depends on the mix, so count garments and multiply by their rod space.
How high should double closet rods be?
Set the lower rod at about the length of your longest short garment and the upper rod one garment length higher. Short garments need 39 to 45 inches of hanging height3. The lower rod lands near 40 to 45 inches, and the upper rod near 80 to 90 inches, so keep less-used clothes on top.
How deep should closet shelves be?
Twelve inches suits most closet shelves, since a 12-inch shelf holds most hats, folded garments, shoes and accessories4. Deeper shelves invite a second row that gets lost. Large men’s shoes are the exception, needing about 13 inches of depth4.
Can you put a dresser inside a small closet?
Yes, if it fits inside the door opening and the closet depth. Bedroom dressers run 18 to 22 inches deep2, so many fit a 24-inch closet. Put it under short garments only when the rod sits high enough, and anchor it, because a freestanding chest can still tip.
How much shelf space does a pair of shoes need?
About 7 to 9 inches of shelf width per pair. A North Carolina extension guide sized men’s shoes at 9 inches wide and 5.5 inches high, and women’s at 7 inches wide and 7.5 inches high4. On those figures, a 36-inch shelf holds four or five pairs.
Limitations and Edge Cases
- The dimension sources are university and extension publications from 1953 to 1992. Garments, hangers and shoes vary, so measure your own longest garment and largest pair before fixing any height.
- The reach figures come from different populations. The 72-inch shelf is a 1953 estimate for a woman of average height, and the forward reach band is drawn for wheelchair users. Set daily zones by the people who actually use the closet.
- This plan assumes a reach-in closet. A walk-in adds an aisle to protect, and the walk-in closet floor guide covers that layout.
- Built-ins that carry heavy loads, new closet lighting and moved doors are project-specific work for a licensed contractor or electrician.
References
Methodology: every sourced figure in this article comes from an independent published source and links to the document that carries it. The rod-inch budget, the double-hang heights, the drawer-height trade-off, the shoe-shelf capacities and the rod-capacity chart are Small Space Logic calculations from those figures. The article is written by Oded Feigin, M.Sc. Mechanical Engineering (UCLA), Small Space Logic’s founder, and updated when a source or a recommendation materially changes.
- University of Illinois Small Homes Council – Household Storage Units, Circular C5.1, Helen E. McCollough, 1953 (IDEALS repository, University of Illinois Urbana-Champaign).
- University of Illinois Building Research Council – Bedroom Planning Standards, Council Notes Volume 12, Number 4, BRC staff with William H. Kapple, 1992 (IDEALS repository, University of Illinois Urbana-Champaign).
- Oregon State University Extension – Ideas for Better Clothes Closets, Extension Circular 691, Bernice Strawn, reprinted April 1967 (ScholarsArchive at Oregon State University).
- North Carolina Agricultural Extension Service – My Clothing Storage Area: Idea Guide for Early Teens, 4-H Home Improvement Project, Edith B. McGlamery, February 1964 (NC State University Libraries archive).
- U.S. Access Board – ADA Accessibility Standards, Chapter 3: Building Blocks, section 308 Reach Ranges, 2010 ADA Standards for Accessible Design.
- U.S. Consumer Product Safety Commission – Clothing Storage Units, business guidance on the STURDY rule and 16 CFR part 1261.
- Federal Register – Safety Standard for Clothing Storage Units, final rule, U.S. Consumer Product Safety Commission, Vol. 87, No. 226, November 25, 2022.
Conclusion
A small closet redesign works when the interior is sized to the wardrobe. Measure the shell, count garments by hanging length, and give long garments only the rod they need. Double-hang the rest, keep shelves near 12 inches deep4, keep drawers inside the opening and give shoes a measured column. Engineer the layout first, decorate second.
For how this plan fits the wider topic of closet storage, see the small closet storage overview.