
A small kitchen island adds prep counter and storage without requiring a room addition – but only when it is sized and placed to match the kitchen it is entering. The 2026 U.S. Houzz Kitchen Trends Study found that 58% of renovating homeowners add or update a kitchen island, the single most requested structural improvement in a kitchen renovation.2 Whether the island is fixed or rolling, the decision sequence is the same: clearance first, then size, then storage. The overview in Small Kitchen Storage places islands alongside the other counter and storage decisions in a compact kitchen.
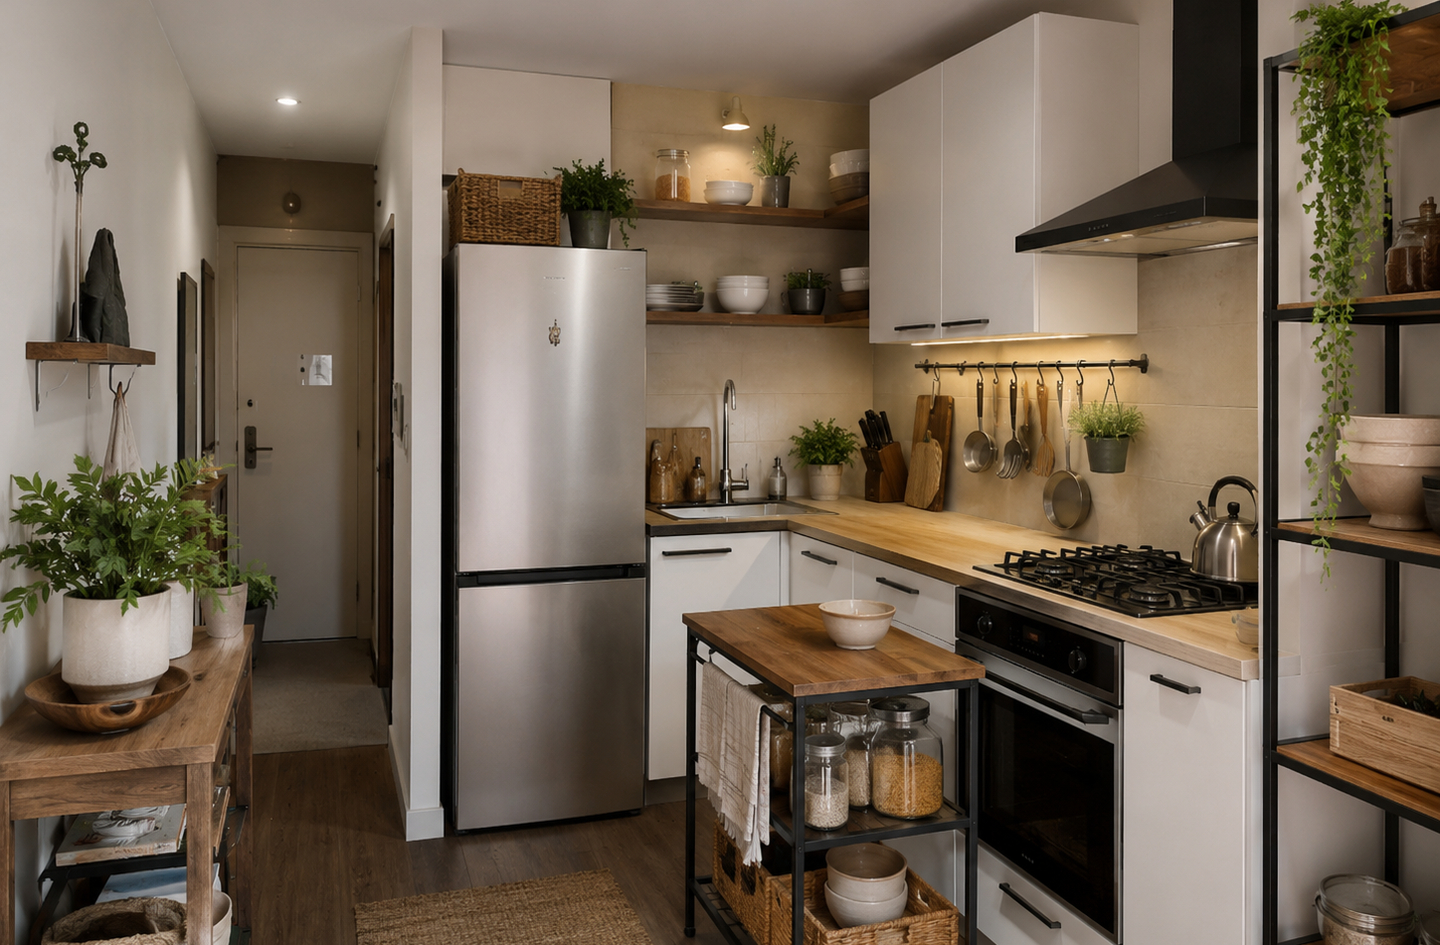
Quick Answer
How small can a kitchen island be and still be useful?
A prep-only island can start at 24 inches wide by 48 inches long, adding roughly 8 square feet of working surface.3 A rolling island on locking casters suits kitchens under 130 square feet because it can be repositioned or moved out of the path entirely. The binding constraint is clearance: the National Kitchen and Bath Association (NKBA) requires at least 42 inches between the island and any fixed counter or wall on the working side for a single-cook kitchen.1 If that clearance cannot be sustained, a rolling island that parks at the wall between uses is the better system.
Key Takeaways
- NKBA guidelines require at least 42 inches of work-aisle clearance around an island for one cook, and 48 inches for two cooks – these are the binding constraints before any other sizing decision.
- The practical minimum island for prep-only use is 24 inches wide by 48 inches long; adding seating raises the width requirement to at least 42 inches.
- Rolling islands on locking casters work in kitchens as small as 70-130 square feet where a fixed island would reduce the aisle below the safe minimum.
- A small 3-by-4-foot island adds 12 square feet of counter; a medium 3.5-by-5-foot island adds 17.5 square feet – meaningful gains when the top is kept clear for prep.
- Island storage earns its footprint when it holds high-frequency items used in every cooking session, not seasonal or rarely touched equipment.
Before You Measure: The Clearance Numbers That Decide Whether an Island Fits
An island that fits in square footage but not in clearance will obstruct the kitchen every day. Three NKBA standards govern whether an island works in a given floor plan – these are not preferences, they are the measured thresholds below which the kitchen stops functioning well.1
The first is the work aisle: the space between the island’s edge and any counter, appliance, or wall on the opposite side. NKBA Guideline 6 sets this at a minimum of 42 inches for one cook and 48 inches when two people cook at the same time.1 Below 42 inches, opening an oven door while another person stands at the counter on the opposite side causes a collision or forces a step-back every time – friction that compounds across hundreds of cooking sessions per year.
The second is the walkway: any path through the kitchen that is not the work aisle. NKBA Guideline 7 requires at least 36 inches for a walkway, and 42 inches where two walkways meet perpendicularly.1 An island that reduces the route from the dining area past the refrigerator below 36 inches is not a storage gain – it is a daily bottleneck. The third is seating clearance: NKBA Guideline 8 requires 32 inches behind a stool when no one walks past, 36 inches to slide past, and 44 inches to walk past comfortably.1 Seating on an island is rarely practical in a kitchen under 130 square feet.
“With aging housing stock, a shortage of available homes and longer homeowner tenure, more homeowners are choosing to invest in improving the functionality of the kitchens they already have rather than move.”
Marine Sargsyan, Head of Economic Research, Houzz2
That investment pressure makes the clearance check more important, not less. An island placed without running the measurements creates friction at the one point in the home that absorbs it least – the kitchen during an active cooking session. The clearance check is where flow is protected before the island arrives.
Step 1: Map Your Kitchen Floor Plan
Draw the kitchen’s actual footprint with every fixed element in place before choosing any island. This takes under 30 minutes and determines every sizing and positioning decision that follows. Skipping it is the most common reason an island ends up blocking the path it was supposed to serve.
What to measure and record
Measure the total floor area and mark every fixed element: refrigerator, stove, sink, dishwasher, and all doors that swing into the kitchen. Record the narrowest gap between any pair of facing surfaces – between the counter run and the opposite wall in a galley layout, or between the two counter runs in an L-shaped or U-shaped kitchen. That smallest number is the constraint the island must not violate. Also trace door swing radii – a door projecting 20 inches into the aisle reduces effective clearance by that amount every time it opens.
The work triangle and island intersection
A 2025 peer-reviewed simulation study analyzing 38 real apartment kitchen floor plans found that the impact of work triangle compliance on movement efficiency was limited, with user-centered layouts consistently outperforming rigid triangle compliance in compact homes.5 The practical rule for island placement is NKBA Guideline 3: no leg of the work triangle should be interrupted by the island by more than 12 inches.1 An island that cuts across the refrigerator-to-stove path by more than that forces a detour in every active cooking session – dozens of times per meal.
For the full set of layout principles that protect prep space and keep daily tools accessible, see small kitchen counter reach.
Step 2: Choose Between a Fixed and a Rolling Island
The choice between a fixed island and a rolling island is a floor-area decision. A fixed island requires a minimum kitchen footprint of roughly 100 square feet for basic clearances to hold; at 150 square feet or more, a fixed island delivers its full benefit.7 A rolling island with locking casters works in kitchens as small as 70-130 square feet – it repositions when the full work aisle needs to be open for grocery unloading, a large pot, or two people working at once.
| Factor | Fixed Island | Rolling Island |
|---|---|---|
| Minimum kitchen floor area | 100+ sq ft (150+ for full benefit) | 70-130 sq ft |
| Aisle management | Clearance must hold permanently | Can move aside when aisle is needed |
| Appliance integration | Possible (dishwasher, microwave) | Not practical |
| Storage capacity | Higher (full cabinet base possible) | Moderate (open shelves, drawers) |
| Renter-friendly | No (permanent installation) | Yes (freestanding, no drilling) |
Rolling islands and renters
A small kitchen island on wheels is the only realistic option for renters: no drilling, no structural modification, no landlord approval. Compact rolling islands typically measure 24-36 inches wide and 36-60 inches long – dimensions that fit in a kitchen corridor without eliminating the work aisle in their default position. Caster load rating is the quality check that matters most: a fully stocked island can exceed 100 pounds before anything lands on the shelves. Casters rated at 50 pounds each (200 pounds combined) provide a safe margin. Locking on two opposing casters – not just two on the same side – prevents the island from rolling when leaned on during prep.
When a fixed island makes sense in a small kitchen
A fixed island is the better choice when the floor plan can permanently sustain 42-inch clearances on all working sides and when integrating an appliance is a goal. The 2026 U.S. Houzz Kitchen Trends Study found that 53% of homeowners who add or upgrade an island integrate at least one new appliance, with dishwashers (35%) and microwaves (32%) leading the category.2 Those integrations require plumbing or electrical rough-in – a renovation-level commitment that only makes sense in a kitchen large enough for a fixed footprint.
Step 3: Size the Island to the Room
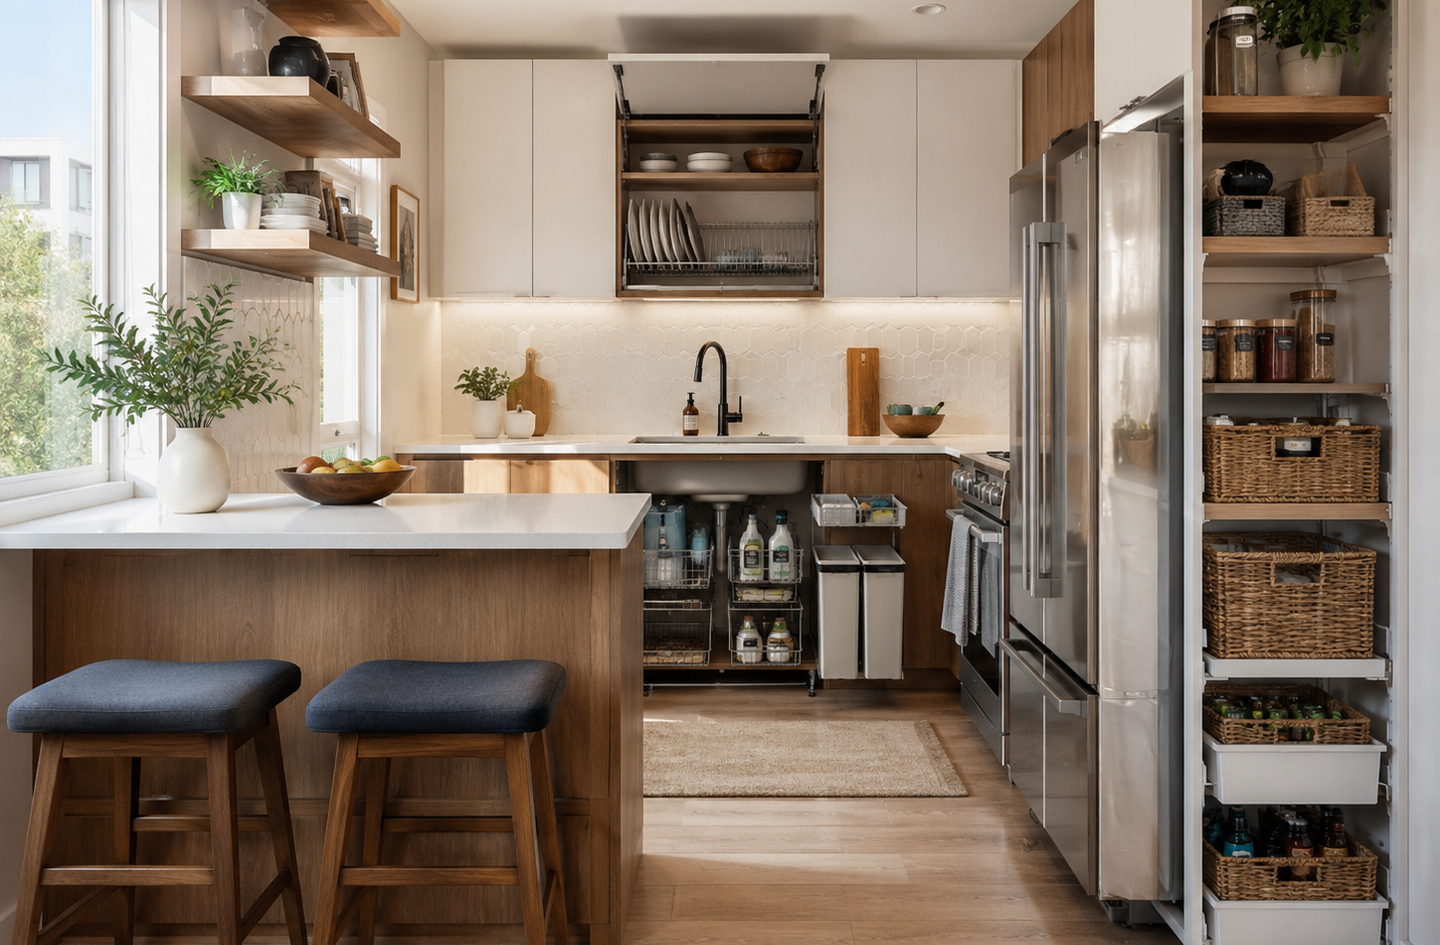
Island size follows from clearance, not from preference. Once the 42-inch work aisle is preserved on every working side, the remaining floor space determines the island’s maximum dimensions. Most small kitchens can accommodate an island 24-36 inches wide and 36-60 inches long before clearances become the binding limit.
Counter space scales predictably with island size. A small island at 3 by 4 feet adds 12 square feet of working surface. A medium island at 3.5 by 5 feet adds 17.5 square feet. A large island at 4 by 6 feet adds 24 square feet.4 A typical L-shaped kitchen without an island starts with 25-40 square feet of total counter. Even the smallest island is a meaningful gain – but only when the island top is kept clear for prep work.
Width determines function
At 24 inches wide, the island surface fits a standard cutting board with space on each side. At 30-36 inches, two people can work on opposite sides without interfering. At 42 inches, bar stools can be placed on the non-working side without the overhang cutting into the prep surface. Below 24 inches wide, a wall-mounted fold-down table or a pull-out counter extension from a lower cabinet delivers more working area with a smaller permanent footprint. For principles that keep counter space available day to day, see small kitchen counter organization.
Length: the secondary sizing variable
The practical minimum for prep tasks is 48 inches long. An island shorter than 48 inches is more of a prep cart – useful for staging and storage, but not long enough for most recipe workflows involving a cutting board, a mixing bowl, and a pot. Beyond 60 inches, the island competes with the kitchen’s walkways unless the kitchen is also more than 12 feet long. When length must be traded for width, a wider and shorter island is usually more useful: a 36-by-48-inch island offers more functional prep area than a 24-by-60-inch one, because the extra width allows the cook to face the stove without a collision.
Step 4: Position the Island to Protect Traffic Flow
Positioning an island is a flow problem, not a centering problem. Placing an island at the geometric center of the available floor space looks balanced in a floor plan but often puts it directly across the kitchen’s main traffic path.
Map the traffic paths first
Three paths typically run through a small kitchen: the work path between the refrigerator, stove, and sink; the access path from the entry point to the appliances; and the exit path from the cooking zone to the dining area. Sketch these on the floor plan before placing the island. The island should sit to one side of the dominant path – the one traveled most during active cooking – not across it. Even a 4-6 inch offset from geometric center toward one wall can make the difference between an island that serves the kitchen and one that slows it down every session.
Galley kitchens and offset placement
In a galley kitchen – two parallel counter runs with one aisle between them – a fixed island almost always violates the 42-inch clearance on at least one side. A very wide galley (12 or more feet between counter faces) can sometimes fit a 24-inch rolling island toward one end while maintaining full clearance on both sides. In a narrower galley, an island that parks at one end during prep and rolls to the wall during cleanup is the better system than trying to fit a fixed island into the main work corridor. If the kitchen lacks counter space even for a rolling island, small kitchen storage without cabinets covers rail systems and freestanding units that build storage without reducing the aisle.
The island as a zone marker in an open-plan layout
In a kitchen connected to a dining or living area, an island can mark the zone boundary without construction. Orient the long axis parallel to the counter run, working face toward the appliances, non-working face toward the dining area. The clearance required behind bar stools (36-44 inches) doubles as the buffer between zones. The zone-marking role does not reduce the cooking clearance requirement – the 42-inch work-aisle standard applies on the kitchen side regardless of how the island is used on the opposite side.
Step 5: Load the Island with Storage That Works Daily
Counter space is the most visible gain from a kitchen island, but storage is often the more durable gain – if it is designed for daily access. The storage categories that belong on or in an island are the ones with no better home elsewhere in the kitchen: items used in every cooking session that currently lack a logical home near the prep area.
Drawers on the working side, shelves on the non-working side
Drawers on the cooking-facing side are the highest-value storage format. They put cutting boards, utensils, and frequently used tools within reach during prep without a trip to a wall cabinet. Pull-out formats are especially effective for baking sheets and trays, which are awkward to retrieve from upright slots. The 2026 U.S. Houzz Kitchen Trends Study found that 94% of homeowners upgrading cabinetry add specialty storage features, with pull-out waste or recycling bins (64%), cookie sheet or tray drawers (55%), spice storage (41%), and cutlery storage (38%) leading the list.6 Those categories translate directly to island base storage.
Open shelves on the dining-facing side suit items used at the table rather than during cooking: serving bowls, a wine rack, napkins. In a small kitchen where counter clutter is already a problem, open island shelves work best when their contents are either visually presentable or contained in baskets that present a clean face.
Storage categories that earn island placement
Island drawers, shelves, and hooks should hold items with no practical home at the wall – not duplicates of things already well placed. High-value categories include: sharp knives in a drawer insert or magnetic strip, cutting boards and baking sheets in vertical base slots, dish towels and oven mitts in a shallow drawer or on a side hook rail, and specialty prep tools used regularly. A waste bin that rolls under the island counter and is accessible during prep – eliminating the trip across the kitchen every time a vegetable is peeled – is among the most practical storage wins in a compact kitchen.
What not to store on an island
Seasonal items, appliances used less than once a week, and anything requiring bending and two-handed lifting do not belong in island storage. A stand mixer stored in the island base sounds efficient but creates retrieval friction every time it is needed during an active session – a base cabinet adjacent to where the mixer is actually used is a better location. Island storage earns its footprint by serving high-frequency access. Keeping it reserved for daily items is what makes the island’s floor space pay off.
Small Kitchen Island Sizing Mistakes to Avoid
Most small-kitchen island problems originate in sizing and positioning decisions made before the island arrived. These are the patterns that repeat across compact kitchens.
Buying by catalog dimensions rather than floor-plan dimensions
The mistake: Choosing an island based on its listed size without first checking whether those dimensions maintain 42-inch clearances on every working side.
The fix: Tape the island’s footprint to the floor before purchasing. Blue painter’s tape takes five minutes and immediately reveals whether the clearances hold on all sides. If the tape leaves less than 42 inches on any working side, the island is too large for that kitchen – regardless of how it photographs in a showroom.
Treating counter height as fixed when it is not
The mistake: Assuming the island must match standard 36-inch counter height, even when a different height would reduce fatigue for the primary cook.
The fix: For rolling islands, verify the total height including caster height (typically 2-4 inches). A person 5 feet tall working at a 36-inch counter is working with arms slightly raised – a posture that tires the wrists and shoulders faster than a counter 2-4 inches lower. For fixed islands, custom counter height is a one-time decision with compounding ergonomic benefit.
Centering the island geometrically instead of along the flow
The mistake: Placing the island at the exact center of the open floor space, which often sets it across the kitchen’s most-used path.
The fix: Map the dominant work path with tape before positioning. The dominant path is the one traveled most during active cooking – typically refrigerator to stove, or entry to sink. The island should sit to one side of that path, not interrupt it. Photographic balance is not the same as functional placement.
Using the island top as a landing zone
The mistake: Allowing the island counter to accumulate permanent residents – coffee maker, toaster, fruit bowl – which reduces the prep surface to a fraction of the island’s area.
The fix: Treat the island top as a working zone. Every item with a permanent spot on it should be used in every cooking session. Everything else belongs in the island’s drawers, on its shelves, or elsewhere in the kitchen. The island earns its footprint by adding net prep space – not by relocating counter clutter from the wall counters to the island.
Frequently Asked Questions
What is the minimum size for a small kitchen island?
The practical minimum for a prep-only island is 24 inches wide by 48 inches long, providing enough surface for a standard cutting board with room on each side.3 At that size, the island adds roughly 8 square feet of working surface. An island smaller than this is better described as a prep cart. If seating is needed, the island must be at least 42 inches wide to accommodate a stool overhang without cutting into the prep surface.
How much clearance is needed around a kitchen island?
The NKBA requires at least 42 inches between an island and any parallel counter, appliance, or wall on the working side for a single-cook kitchen, and 48 inches for two simultaneous cooks.1 Walkways that are not the work aisle need at least 36 inches. If bar stools are included, the clearance behind the stools must be at least 44 inches for comfortable pedestrian passage.
Is a rolling island better than a fixed one for a small kitchen?
A rolling island is the better choice when the kitchen is under 130 square feet, when the layout is a galley, or when the cook regularly needs the full work aisle open. A fixed island suits a kitchen that can permanently sustain 42-inch clearances and where integrating an appliance is a priority.7 Rolling islands are also the only renter-friendly option since they require no permanent installation.
How much counter space does a kitchen island add?
Counter space added equals the island’s surface area minus any items placed on it permanently. A small island at 3 by 4 feet adds 12 square feet; a medium island at 3.5 by 5 feet adds 17.5 square feet.4 A typical L-shaped small kitchen without an island starts with 25-40 square feet of total counter. Even the smaller figure is a meaningful gain – but only when the island top is kept clear for actual prep work.
Can I fit a kitchen island in a galley kitchen?
A fixed island almost never fits in a galley kitchen without violating the 42-inch work-aisle clearance on at least one side. A very wide galley (12 or more feet between counter faces) can sometimes fit a narrow 24-inch island while maintaining full clearance on both sides. A small kitchen island on wheels that parks at one end of the aisle during prep and moves to the wall during cleanup is a more practical solution for galley kitchens under 10 feet wide.
Limitations and Edge Cases
- This guide covers standard-height kitchens and standard 36-inch counter heights. ADA-compliant kitchens, lowered-counter configurations for wheelchair access, and kitchens with overhead soffits require different clearance standards not addressed here.
- Clearance figures are NKBA design guidelines, not building codes. Local codes may differ; consult a licensed contractor or architect when a fixed island requires plumbing, electrical, or structural work specific to the home.
- Counter space figures (12 and 17.5 square feet) reflect top-surface area only. Base cabinet and shelf storage volume varies significantly by island configuration and is not covered here.
References
- CRD Design Build – Kitchen Dimensions: Code Requirements and NKBA Guidelines, 2022.
- Houzz – These Are the Kitchen Features Homeowners Are Choosing Right Now, Marine Sargsyan, January 20, 2026.
- Fixr – Kitchen Island Dimensions Guide, Dan Simms and Irena Martincevic, September 4, 2025.
- SlabWise – Standard Kitchen Countertop Square Footage by Island Size, 2024.
- SAGE Journals – Human Factors – Lee J., Ryu E., Kim J.Y., Lee J.H., Yun M.H. – A simulation approach to validating optimized kitchen layouts: Reassessing the work triangle through real apartment floor plan analysis, 2025.
- Kitchen and Bath Business – 2026 U.S. Houzz Kitchen Trends Study Released, January 13, 2026.
- Hogan Design and Construction – What’s the Minimum Kitchen Size for Island Placement, Kasia Obrzud, December 9, 2025.
Conclusion
A small kitchen island earns its floor space by adding net counter and storage without reducing the flow that makes the kitchen functional. The decision sequence is the same every time: check clearances first, choose between fixed and rolling based on floor area, size the island to what the clearances allow, position it off the dominant traffic path, and load its storage with high-frequency items only. An island that follows this sequence adds real working capacity. One that skips the clearance check adds a daily obstacle instead. Square footage is fixed. Flow is a choice – and the island either protects that choice or takes it away.
For how islands fit alongside the other storage and counter-space systems in a compact kitchen, see the overview in Small Kitchen Storage.